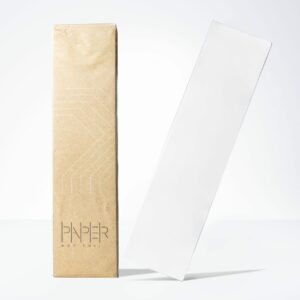
Making the transition to Paper Not Foil, the world’s first eco alternative to aluminum foils and plastic wraps, may seem intimidating at first. However, the transition is easy and seamless! Once you gather all the information, there is very little difference in application and no time added to your creative process.
To make the switch as seamless as possible, we’ve compiled a step-by-step how to video that will help you easily incorporate Paper Not Foil into your business.
1. Section

Part and section hair to allow for proper placement.
2. Cut
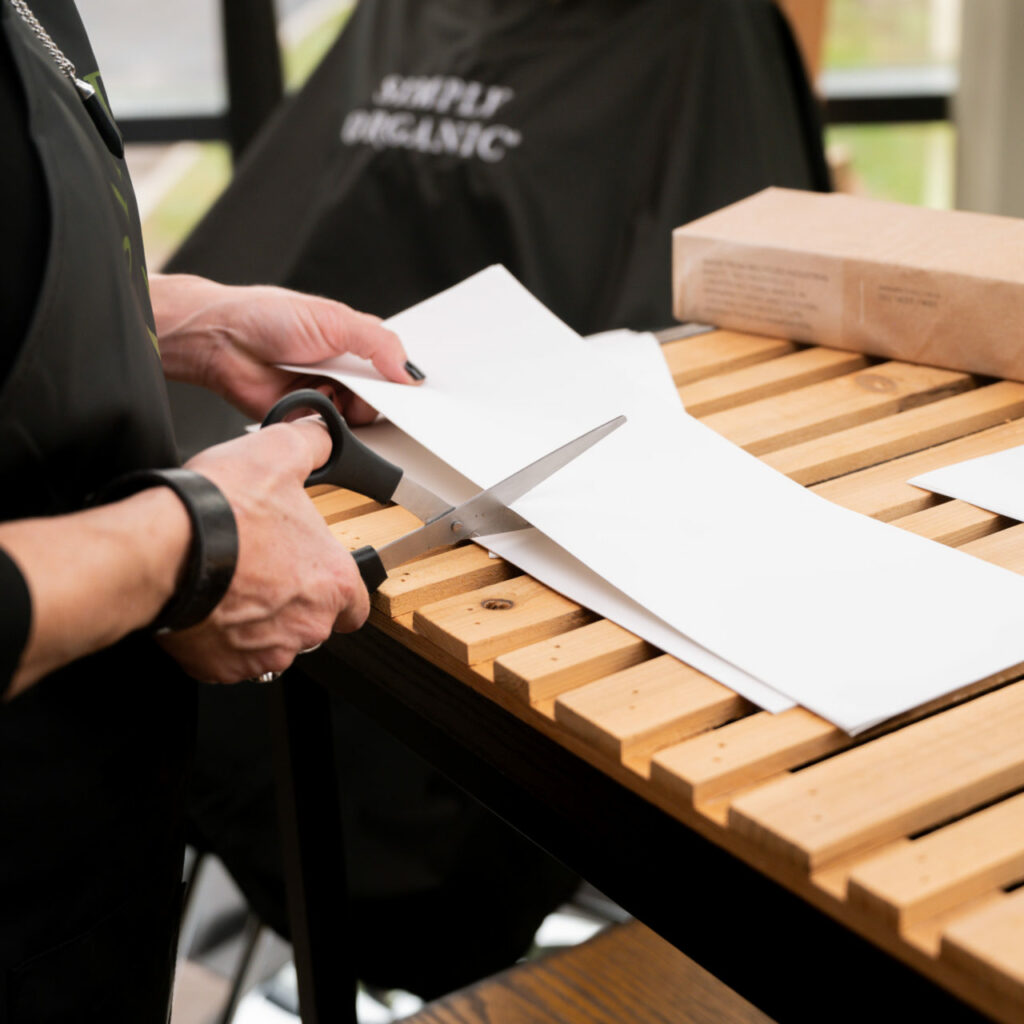
Cut Paper Not Foil to your desired length and shape.
We recommend cutting it shorter for short or medium length hair, as well as for tough areas like near the hairline.
3. Apply
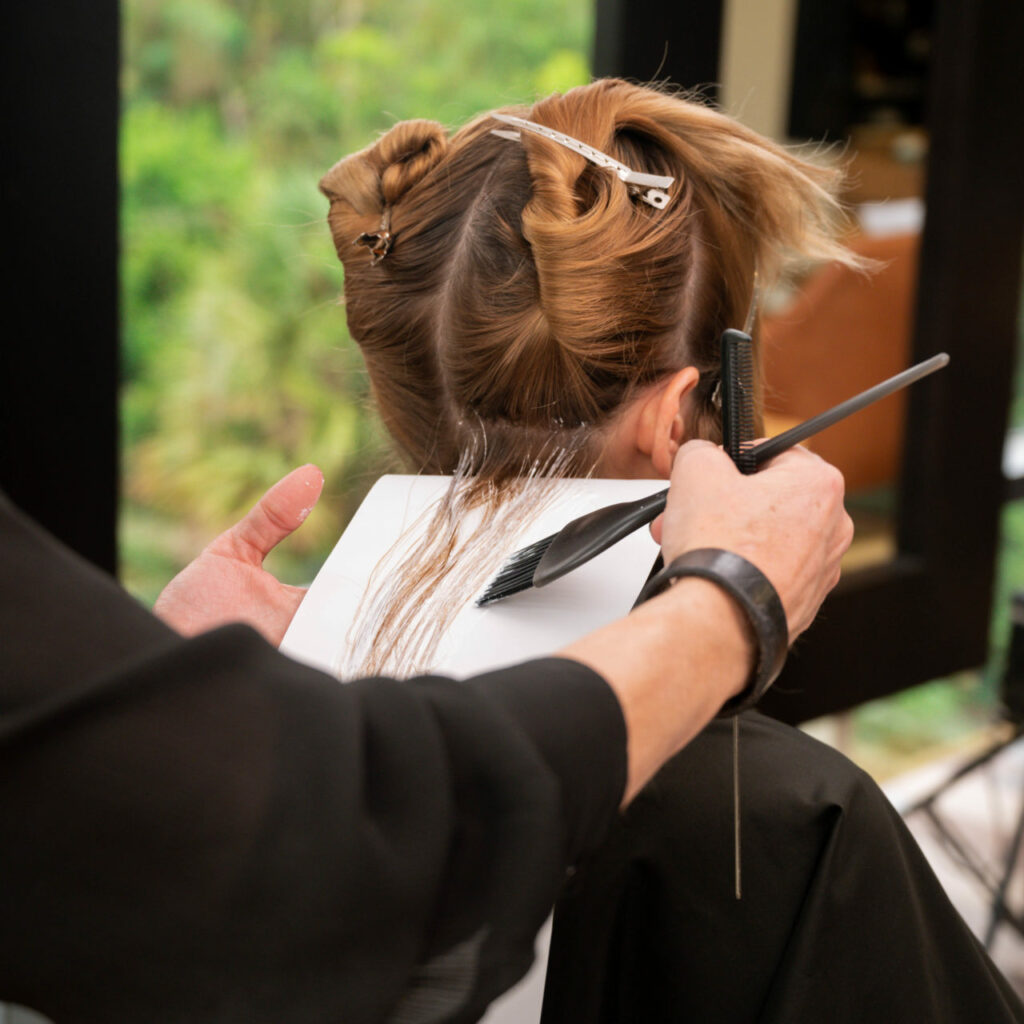
Rest desired section on the Paper and apply color or lightener.
Remember to hold Paper towards the top for optimal control.
4. Fold
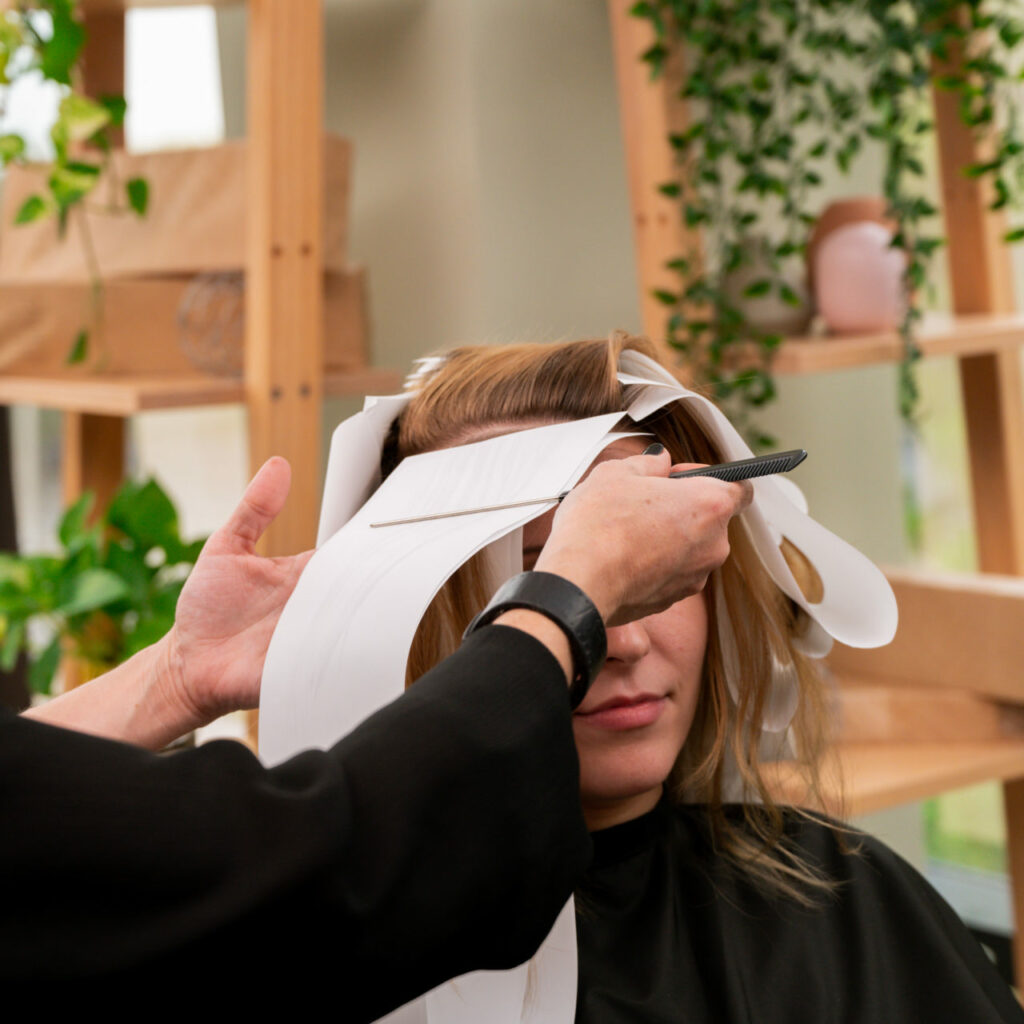
Fold Paper in half and press together.
When working with long hair, sandwich another piece on top.
5. Process
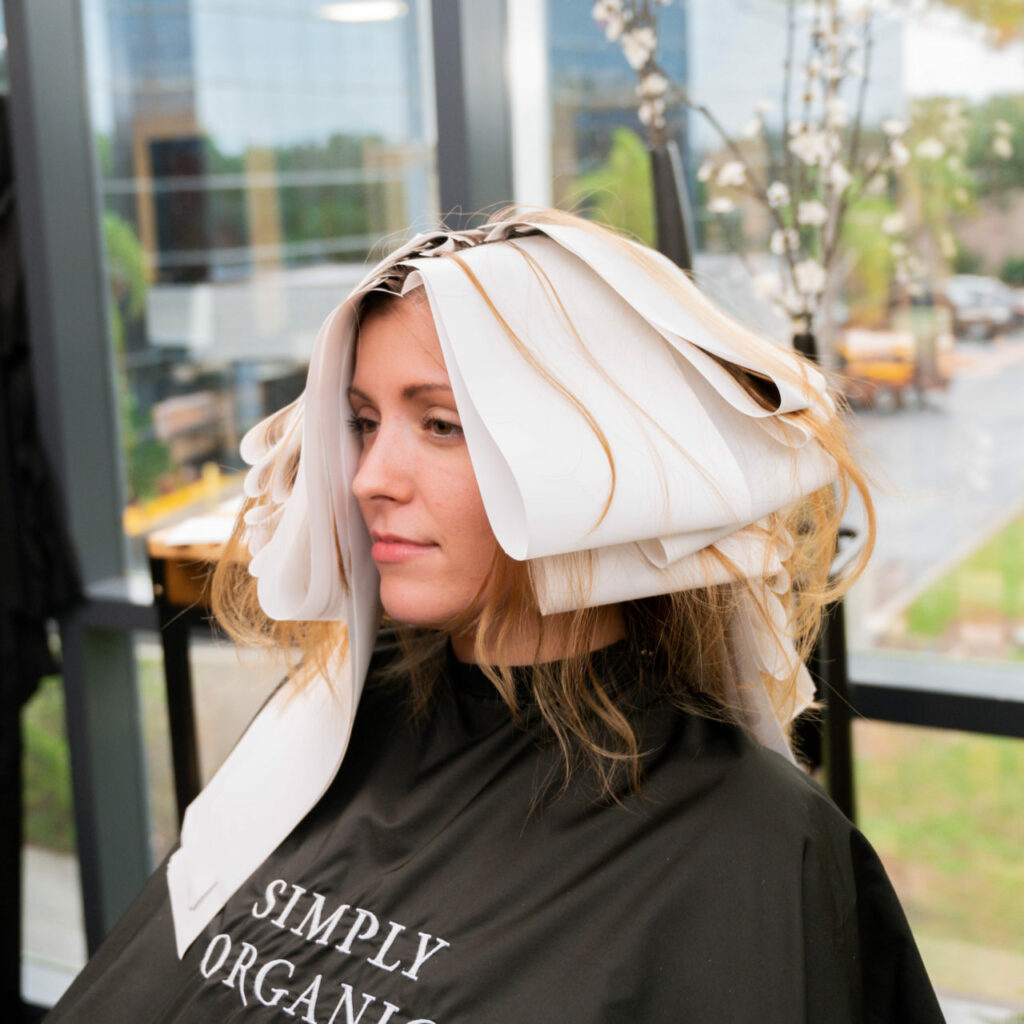
Process according to the manufacturers instructions.
Processing time does not differ and you can use heat as with regular foils.
6. Remove
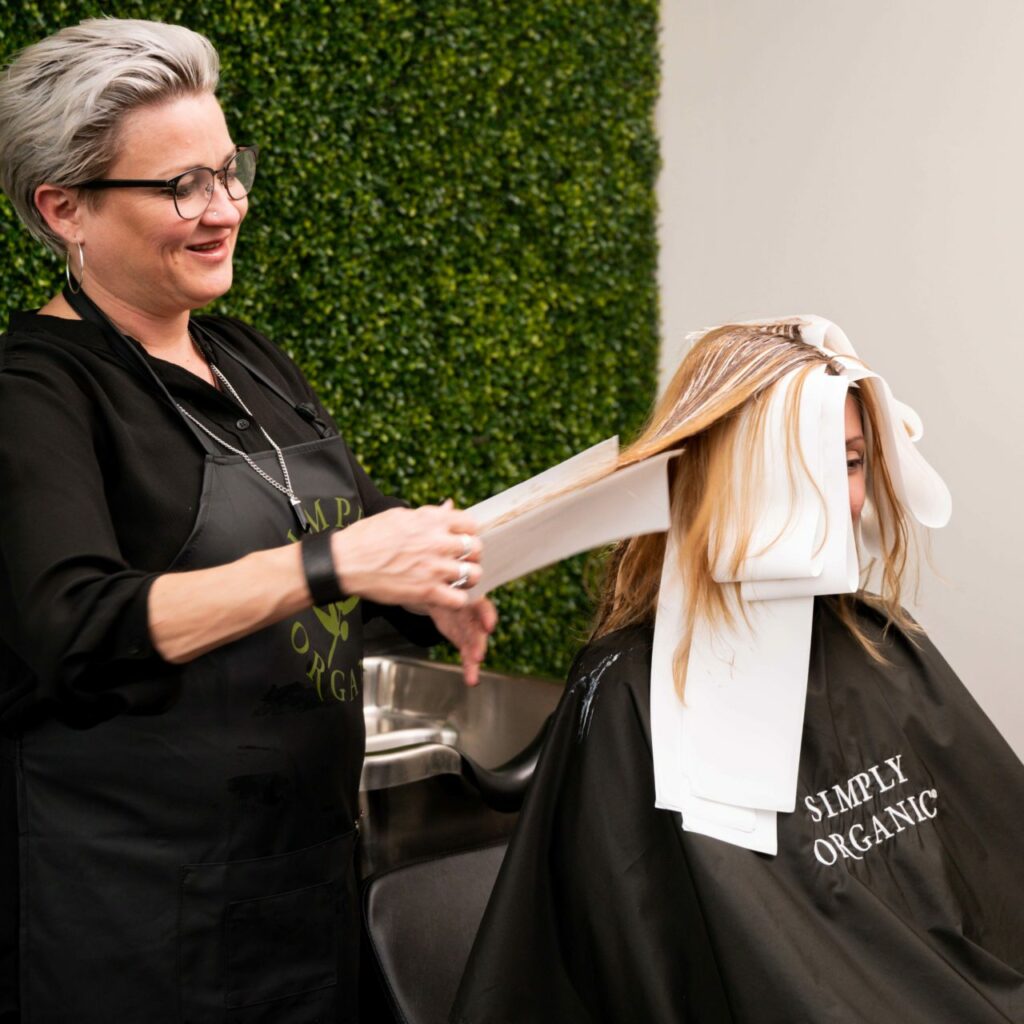
To remove Paper Not Foil, simply slide out of the hair!
7. Rinse
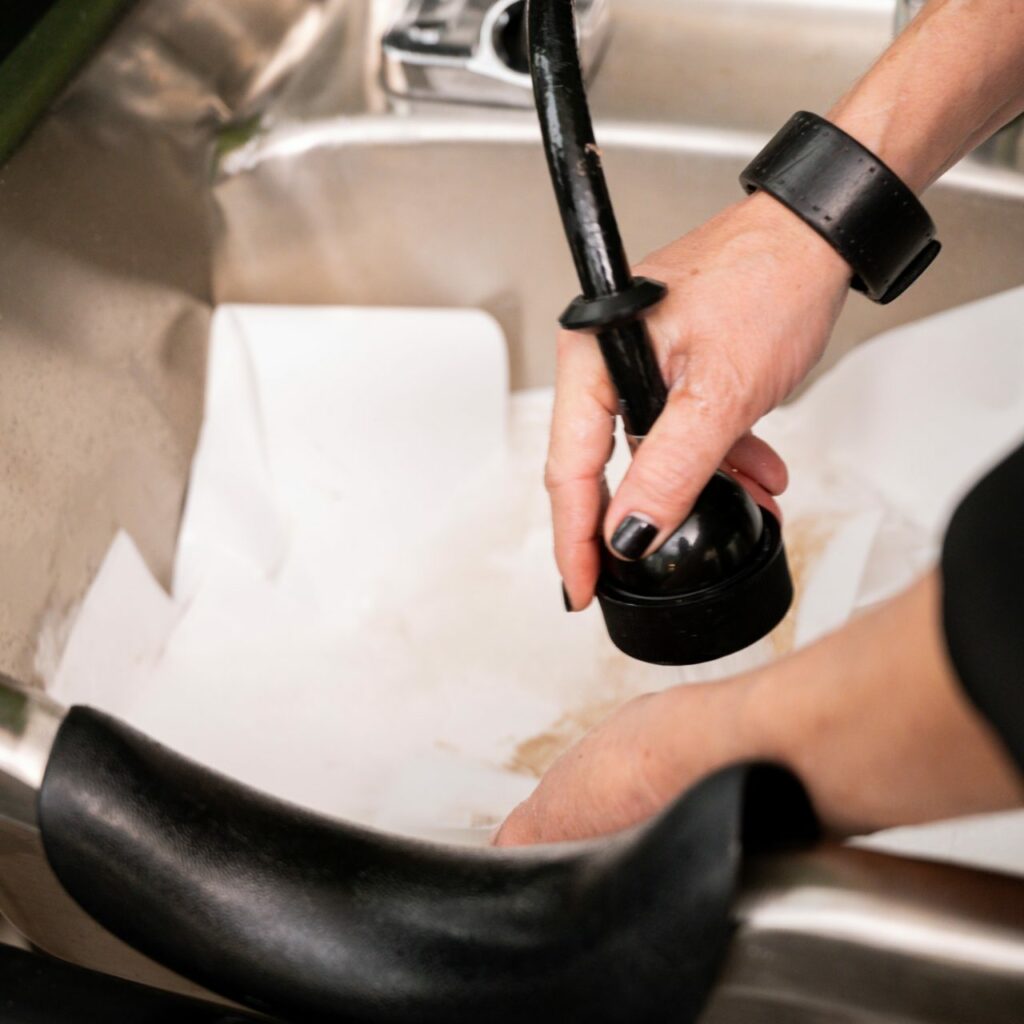
To clean, rinse Paper at basin and hang to air dry. Or, machine wash with a few dirty salon towels for 2-3 minutes and put in dryer for 10 minutes at most.
8. Dry + Reuse
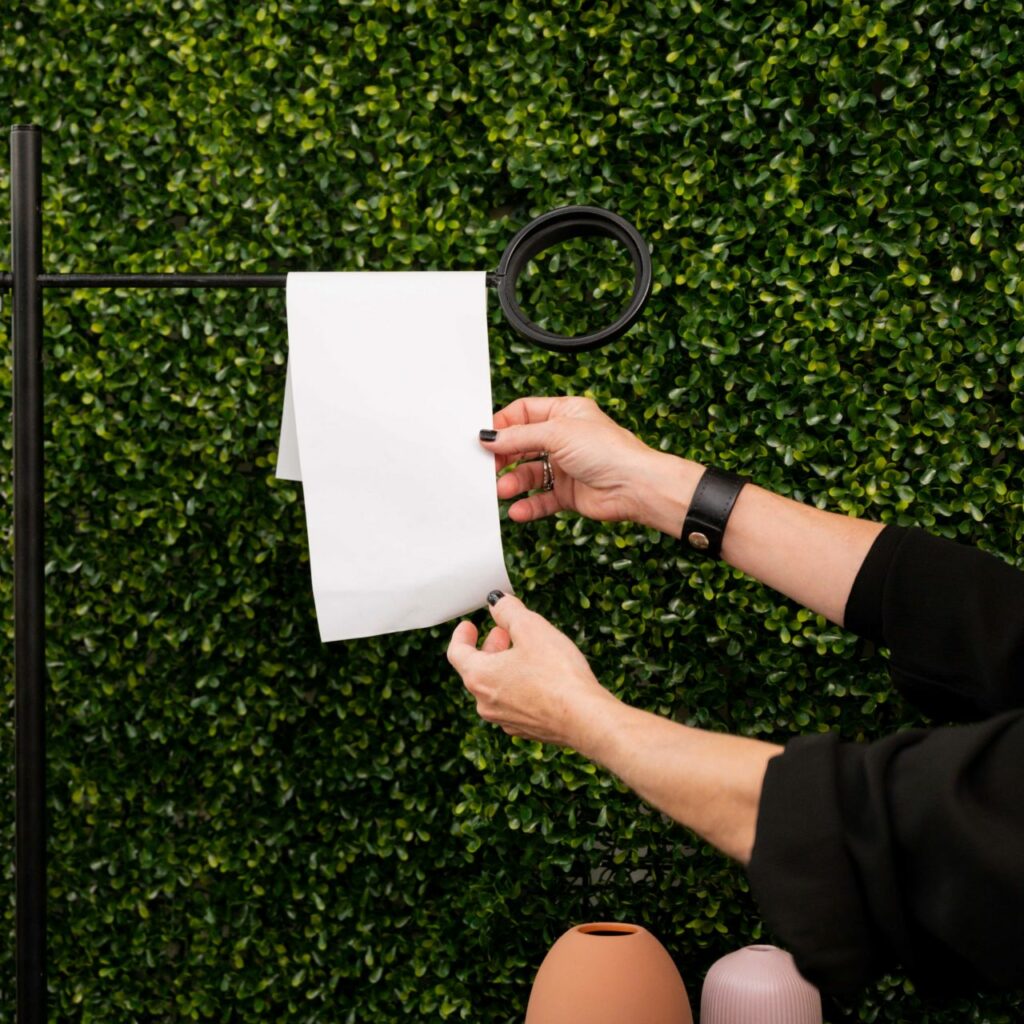
Hang to dry to keep the integrity of the paper or place in dryer for 2-3 minutes on low heat.
And there you have it! We suggest reusing Paper up to 3 times, although this will differ based on your preferences at the salon.
So what are you waiting for? Start reducing your salon’s cost and waste with Paper Not Foil today.
Shop Paper Not Foil below!
